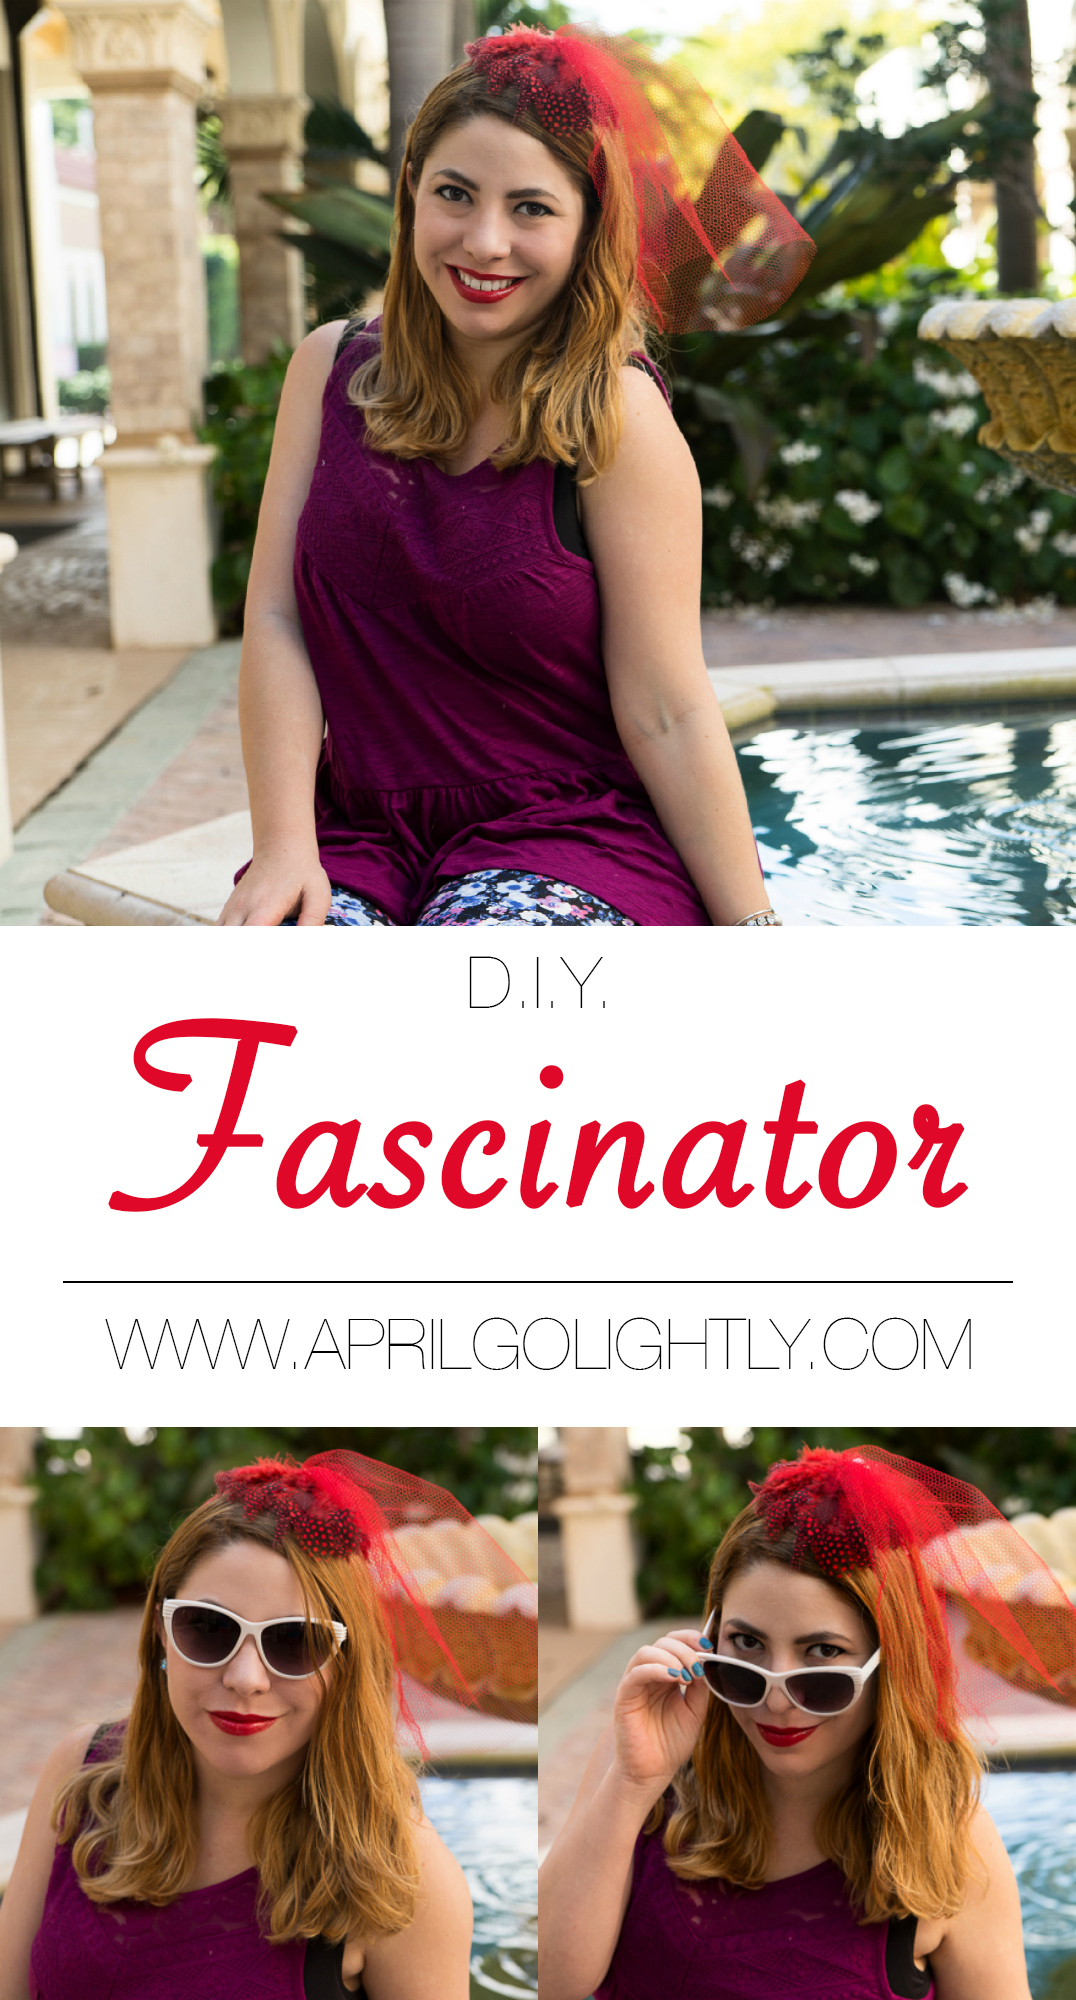
DIY Fascinator
Chapter DISCLOSURE: This post contains chapter links. We earn a small committee from qualifying purchases.
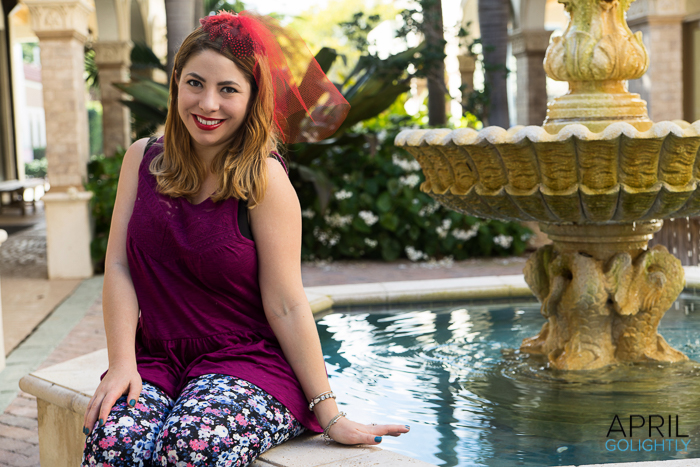
DIY Fascinator
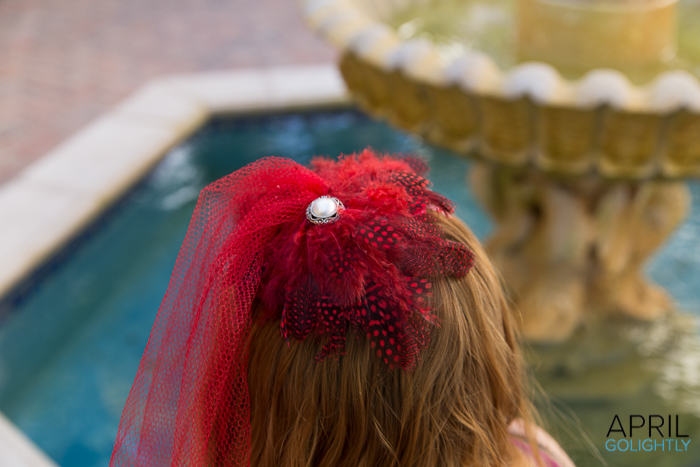
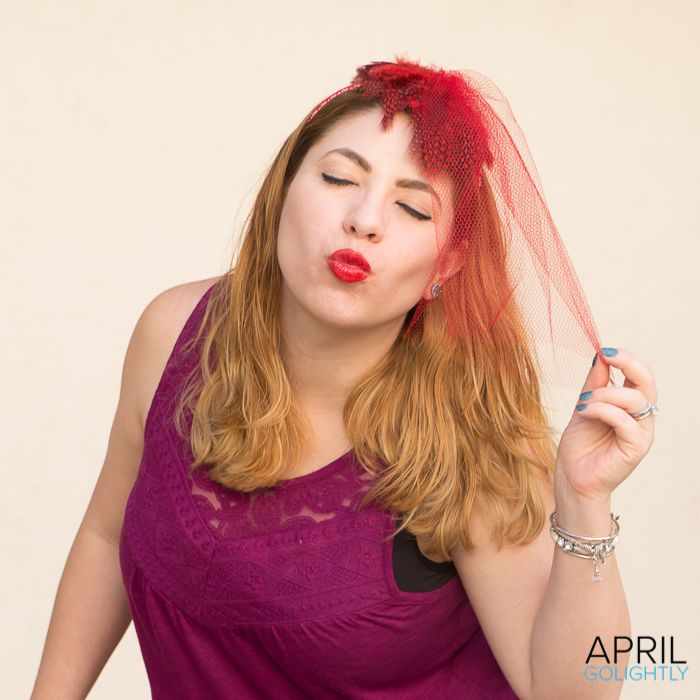
This week I am attending a 1940s New year's Eve Party and decided to make a DIY Fascinator to article of clothing with my vintage inspired Maggy London apparel. I LOVE theme NYE Parties! I went to ane a few years agone that was 200-8o'southward party. I like the idea of adding the dash to the year making it a time flow costume party.
Tools & Supplies
2 Sheets Red Felt
False Pearls or Pearl Buttons
Red Tulle Netting
Clear Caput Band or Red Satin Headband
Artificial Cherry Feathers
Red Ribbon
Hot Glue Gun
Blood-red Pipe Cleaners
Articulate Tiny Hair Band
Instructions
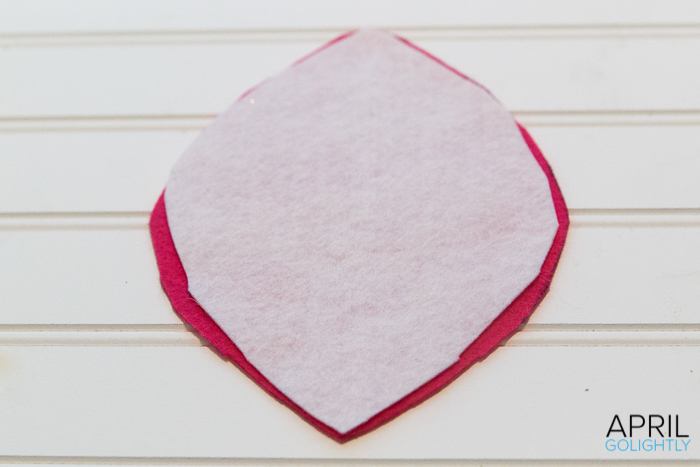
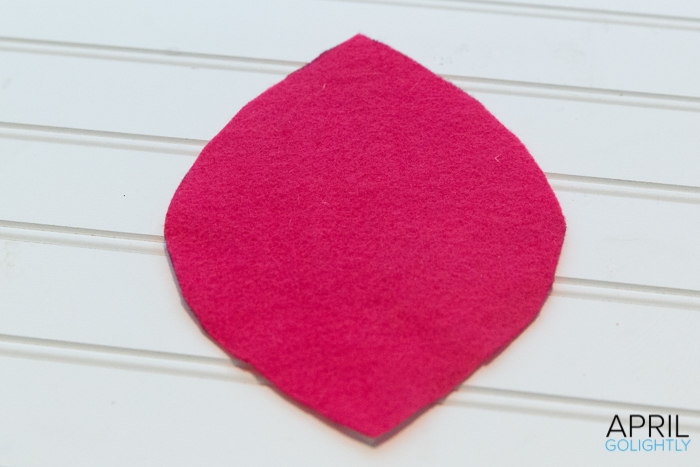
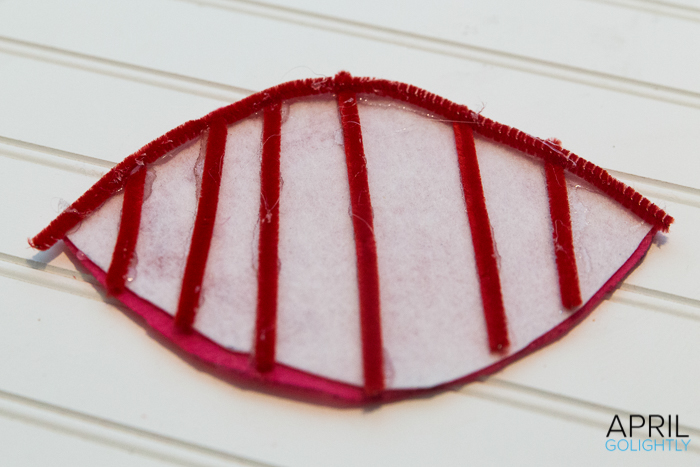
Cutting 2 pieces of felt in the shape of a foliage. I used a small plate to help with the cartoon. Hot mucilage the 2 pieces of felt together. Shine out the glue so that is not lumpy. You can arrive easier by spreading the glue thinly.

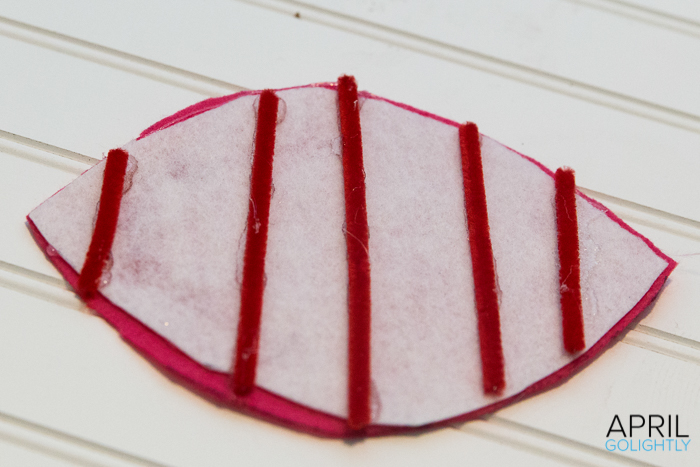
Utilise the hot mucilage gun to adhere pipe cleaners to the underside of the hat. Outline of the shape of the hat and make a back bone and ribs to give information technology flexibility to look expert on the bend of your head.
Adhere the carmine feathers to the acme of your hat starting at the center and saving a few extra for later to cover up any felt spot that show through or cover glue spots from gluing on the netting.
Cut the netting into a long rectangle. Gather the long terminate of the rectangle and tie a tiny pony tail with less than one/2 inch on the small side. Glue the pony tail holder on the netting into the center of the chapeau on peak of the feathers.
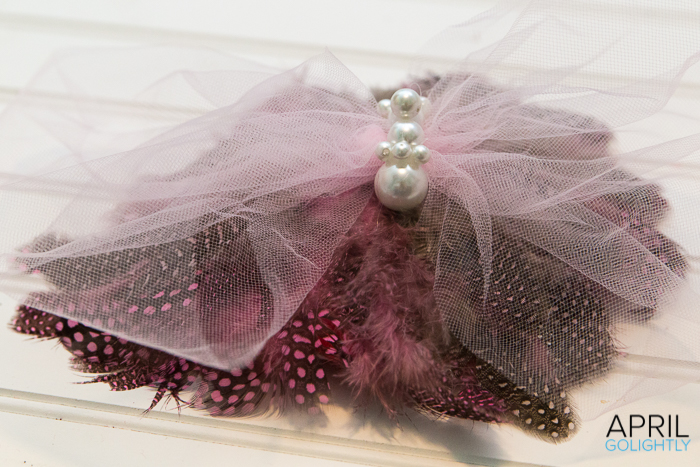
Add pearls or a Pearl Push to the hair tie. Encompass the small end of the tulle and any mucilage spots with the actress feathers.
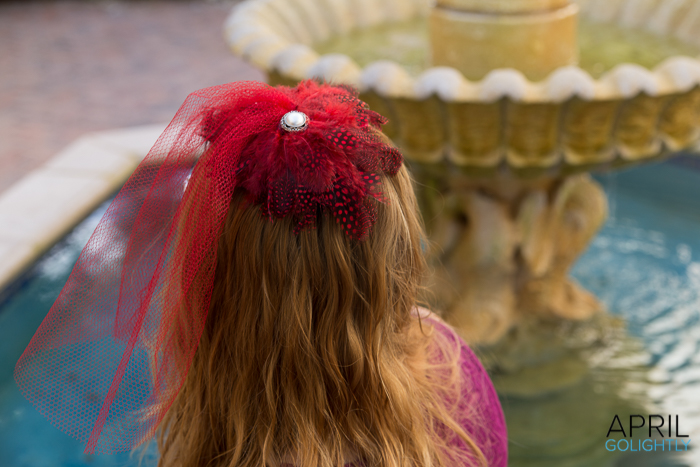
Mucilage the hat to the satin headband or a articulate headband covered with the ruddy ribbon (here is a tutorial on how to embrace a headband with a ribbon). Use a scarp piece of felt to embrace the area where you placed the headband. You lot tin skip the headband and just use bobbie pins to pivot to your head. Either way works!
This post may contain affiliate links. Aid support content like this by purchasing through these links. Cheers!!
What do yous think of the DIY Fascinator? What colour do yous think we should make the side by side one?
Source: https://aprilgolightly.com/diy-fascinator/
Postar um comentário for "DIY Fascinator"